Let’s Unlock the Mystery of Unevenly Damaged Hair
Have you ever noticed that your hair looks drier or frizzier in certain sections? The truth is, damaged hair is rarely a root-to-tip problem; it tends to show up through strands in patches. But, why exactly does uneven hair damage happen? Here, we reveal the reasons behind those healthy roots and broken ends, plus how you or your client can treat locks to targeted repair…
But First, What Causes Hair to Become Unevenly Damaged?
With dryness here and breakage there, it can be tricky to identify the causes of damaged hair. Here are just some of the key reasons locks may look extra stressed through certain sections…
1. Natural Wear and Tear
As a general rule, the mid-lengths and ends of hair tend to be more damaged than the roots simply because the hair isn’t as ‘new’. It’s been through more everyday wear and tear over time. The further you get down the hair shaft, the drier and more porous it may be, which is why it’s often best to focus conditioner and hair masks on the lengths and ends of tresses.
2. Lightener and Colour Placement
Who can resist the lived-in allure of a beachy balayage, or the low-maintenance edge of sombre (subtle ombre) hair? They’re some of the most coveted looks around – and it’s easy to see why. But, wherever the lightener or colour is focused, the hair may be a little drier. So, if you or your client has a blonde face frame or freehand highlights, these sections may call for extra care.
3. Hair Extensions
The pulling and tugging of hair extensions can put stress on the roots of hair, and as they grow out, the weight of them can even cause delicate strands to snap. So, if you or your client are noticing short, broken pieces of hair close to the root, those micro-links or tape-ins could be the culprit.
4. Styling and Hair Ties
Ponytail lovers and topknot loyalists might notice breakage where their hair tie usually sits. Swapping elastics for silky scrunchies can help, but the extra friction might still cause snapping through the lengths. The telltale sign is fraying strands a few inches down from the roots, where hair needs a dose of added strength to withstand daily styling.
5. Targeted Heat Styling
Heat damaged hair can be more noticeable in some sections than others – especially if those areas are trickier to tame. From bangs that crave daily straightening to lengths and ends curled after every wash, targeted styling is one of the biggest causes of damaged uneven hair.
6. UV Exposure
It’s not just your skin that suffers from sun damage. UV rays are harmful to your hair as well, and depending on how locks are styled, they can hit strands at different levels. For example, if locks are often pulled into a topknot, the mid-section may start to turn brassy and brittle, or the lengths not protected by a hat may appear dry at the end of that tropical vacation.
So, What Does Unevenly Damaged Hair Look Like?
How can you actually tell if and – most importantly – where the hair is damaged? These are the most common signs and symptoms to look out for…
1. Dry, Brittle Hair
Dryness is the most common warning sign that hair is damaged. It’s the ultimate SOS signal, letting you know that locks need a boost of moisture – and fast. Plus, when strands become dry and stripped of all those natural, essential oils that coat the hair shaft, it can also feel brittle, look frizzy, and prove much harder to style.
2. Areas of Breakage
Split ends and breakage through the lengths are easy-to-spot signs of damage. You or your client may have split ends all over, or you might see snapped, broken pieces only where hair has been put under extra stress. For example, if strands have been singed by straighteners or pulled into ponytails daily, tresses may have frayed and, over time, started to tear away.
3. Uneven Hair Colour
If your client’s hair is dry and damaged in sections – say the mid-lengths and ends of hair – these areas may be highly porous, meaning there are tears along the cuticle that make strands ultra absorbent. These sections can grab onto lightener or colour for longer than less porous strands, which may result in a patchier finish, especially as hair colour starts to fade.
4. Dullness and Brassiness
Does hair appear duller in parts? Is it brassy and orange or yellow toned? Look out for shifts in shade, as they could be pointing to a patch of dryness and damage. The dream is a mane that shines with health from root to very tip, but unevenly damaged hair might mean some areas look less glossy than before.
5. Disrupted Curl Pattern
When wavy, curly or coily hair becomes damaged, the curl pattern can break down. So, if a textured mane looks straighter, frizzier or less defined in parts, unevenly damaged hair could be at play. This happens when the internal bonds are broken and, in turn, chemically altered. Anything from heat damage to chlorine damage can cause it, which means strength and protection are key.
How to Fix Unevenly Damaged Hair
Now you know what causes uneven hair damage, as well as the signs to watch out for, it’s time to delve into how you can repair ravaged locks. Whether you’re healing your own strands or helping a client restore health, the ULTIMATE REPAIR regimen features the latest in technology to turn back the clock on damage. Check out the results:
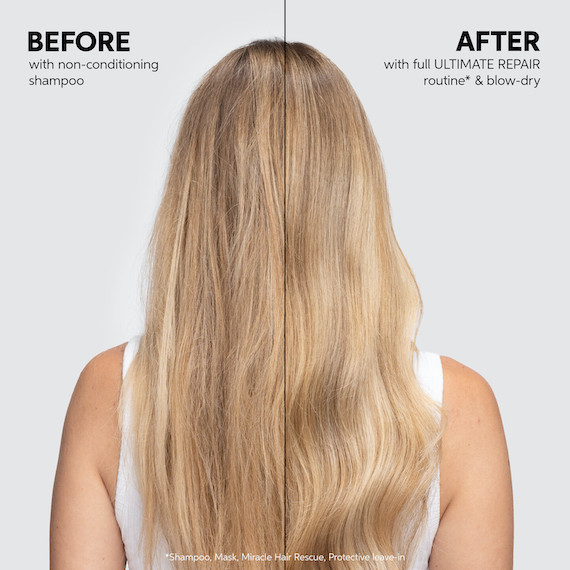
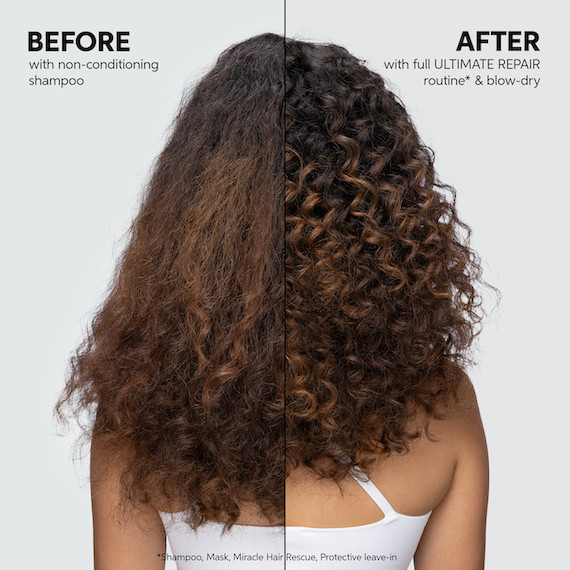
Now follow these steps to make the ULTIMATE REPAIR regimen your own…
Step 1: Cleanse Away Damaging Impurities
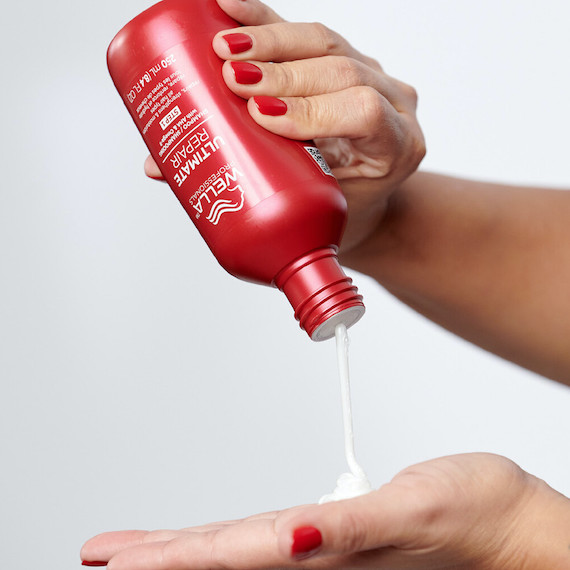
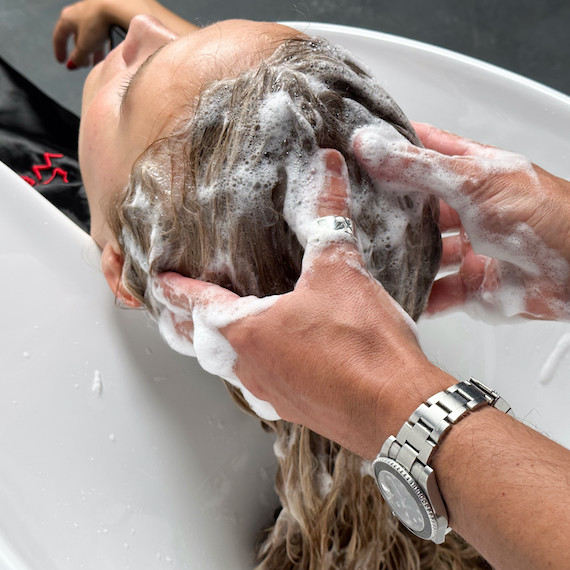
Damaged hair needs a shampoo that does more than simply leave strands feeling clean. It should add nourishment, while working hard to remove the impurities that attack our hair every day. After all, in between washes, dirt and dust collect on strands, increasing friction that leads to breakage. Meanwhile, metals found in tap water can dial up brassiness and leave tresses looking dry and frizzy.
ULTIMATE REPAIR Shampoo fends off these aggressors by purifying and detoxing the hair, with the Metal Purifier working to encapsulate copper ions that may be present on the surface. Plus, the rich, creamy formula creates a luxurious lather that cares for strands from root to tip. The result? Locks that are primed and ready for the bond rebuilding process to begin.
Step 2: Nourish Hair From the Inside Out
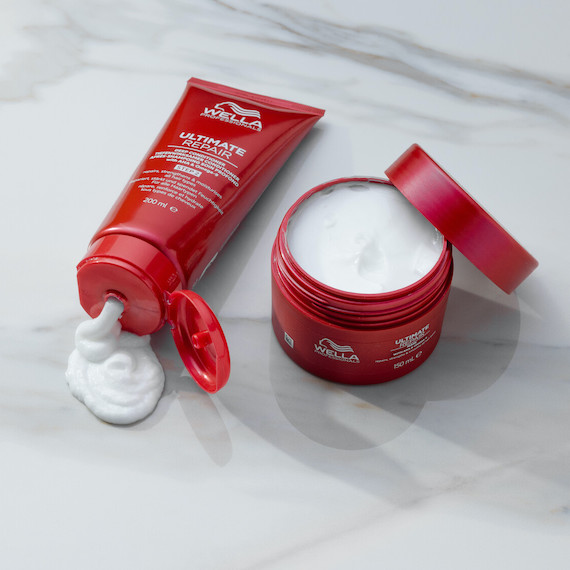
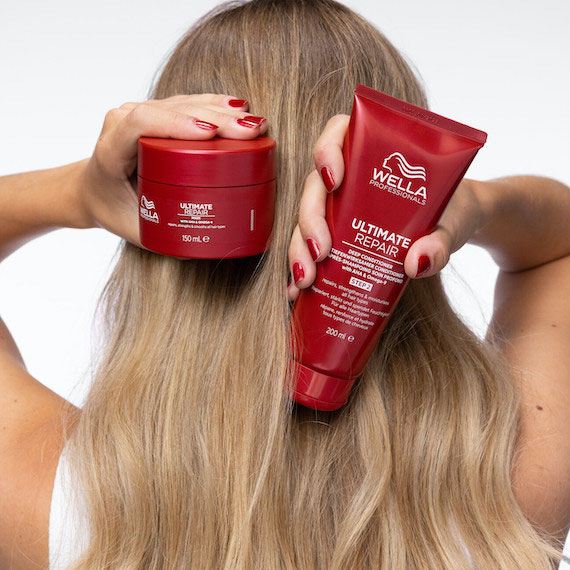
Once hair has been deeply cleansed, you have the perfect canvas for deep conditioning. Next, choose between the ULTIMATE REPAIR Conditioner or ULTIMATE REPAIR Mask to repair and rehydrate dry tresses. Here’s how to pick between the two…
For Everyday Weightless Repair: ULTIMATE REPAIR Conditioner
On ‘regular’ hair wash days, for a boost in nourishment that feels wonderfully weightless, ULTIMATE REPAIR Conditioner is your go-to. The sumptuous cream is powered by AHA to rebuild the internal hair bonds, alongside Omega-9 to smooth and replenish the outer layer. Apply it to the mid-lengths and ends of clean, damp hair and allow it to absorb for up to three minutes. Once rinsed, damaged locks are detangled, easier to style, and noticeably more hydrated.
For Weekly Concentrated Repair: ULTIMATE REPAIR Mask
Every week, you or your client should reach for the ULTIMATE REPAIR Mask; a deep treatment that was made for unevenly damaged hair. Not only is it packed with the same AHA and Omega-9 blend you’ll find in the Conditioner, but it also harnesses adaptive technology to provide care where it’s needed most. Smart conditioning agents detect the damaged parts of the hair and repair it accordingly, meaning that frayed face frame and those over processed lengths reap the rewards of targeted delivery. So, all you have to do is apply it from root to tip, and it will personalize your results. Let it work its magic on clean, damp hair for up to 10 minutes.
Step 3: Repair Hair in 90 Seconds
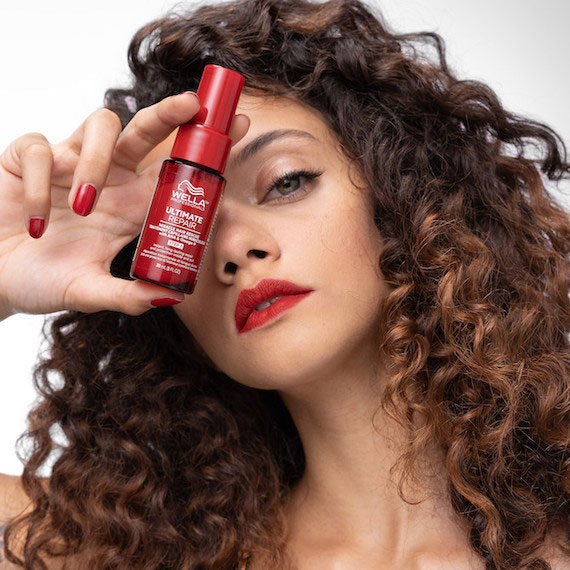
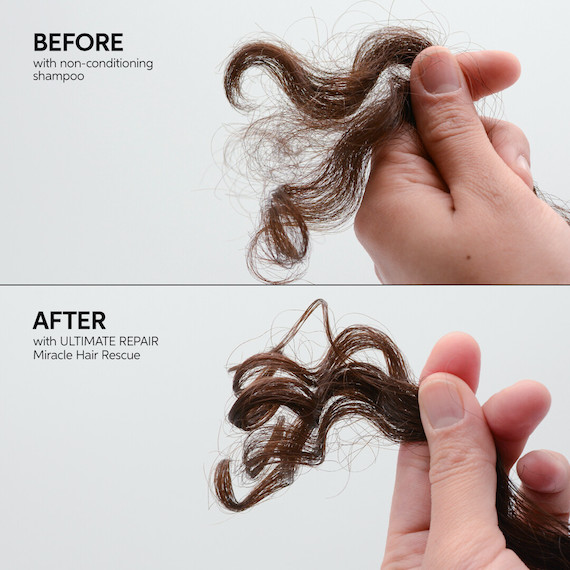
For the most powerful repair, follow up the Conditioner or Mask with ULTIMATE REPAIR Miracle Hair Rescue. This TikTok-viral innovation repairs damage in just 90 seconds*, leaving hair 12x smoother** with 99% less breakage***. So, the supercharged treatment will visibly transform stressed strands in under two minutes, and leave hair more resilient in the face of future wear and tear. It’s easy to apply too. Mist it through clean, towel-dried hair from root to tip, let it absorb for 90 seconds, then style as you usually would. Goodbye tangles and dryness – hello soft, silky, shiny hair.
Step 4: Protect and Style
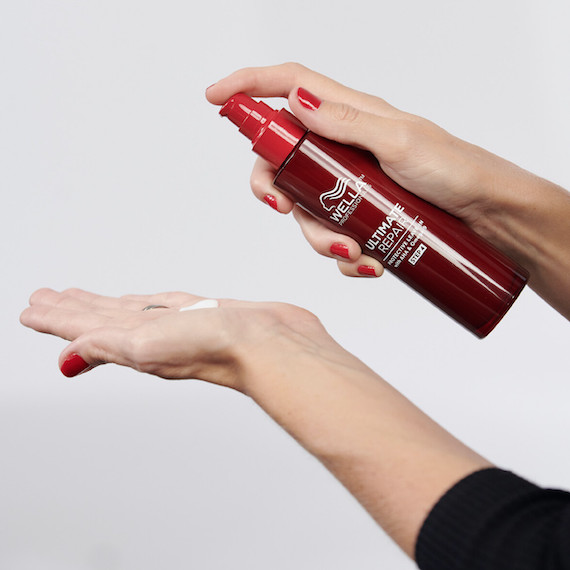
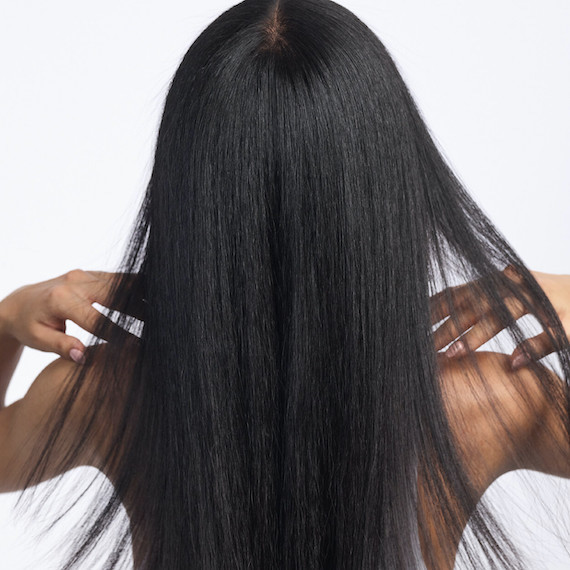
To dial up protection and prep hair for styling, finish the regimen with ULTIMATE REPAIR Protective Leave-In. It’s a lightweight serum that shields locks against your top five concerns: breakage, UV rays, mechanical damage, frizz and heat (up to 230°C/450°F). That means all hair needs are met – on all hair types – to keep uneven damage at bay. From the tug of your ponytail to the glide of your hair straighteners, locks stay perfectly protected.
We hope these tips help you when repairing and caring for your damaged hair. Check out more of our hair care guides for tips you can try at home, or share if you’re a stylist.
* When using ULTIMATE REPAIR Miracle Hair Rescue.
** Vs. non-conditioning shampoo.
*** When using ULTIMATE REPAIR Miracle Hair Rescue. Instrumental test versus non-conditioning shampoo.


