Does a Perm Damage Your Hair? Plus How to Keep Permed Hair Health

Beachy waves and radiant ringlets have been popping up all over the catwalks this year, inspiring those of us who aren’t blessed with natural texture to reach for the curling iron – stat. But some have been looking for longer-lasting ways to satisfy their craving for curls. Cue a full-on perm revival that, thankfully, looks way more stylish than the eighties classic perm. The question is, does a perm damage your hair? Before you book in at the salon, discover how to care for your hair, pre- and post-perm, with these curl-enhancing tips…
First Up, What is a Perm?
A perm is a chemical hair treatment that builds style support into your hair. It changes your hair’s texture, so you can achieve loose waves, bouncy curls or added volume more easily. You can also book in for a straight perm, where locks are chemically straightened to achieve a smooth finish. Think of the treatment as a change in the foundations of your everyday look; you’ll still need to style your hair, but you’ll have a new base to work with.
And, while the word ‘perm’ might make you think your look will be permanent, that new texture won’t last forever. This chemical treatment will soften or grow out over time. Your perm should last around three to six months, although this depends on your hair type (fine waves or curls may drop out quicker), as well as how well you take care of it after your treatment. That’s why preparation and maintenance are key to prolonging hair’s body and bounce.

How Does a Perm Work?
A Wella Professionals Creatine+ Curl, Creatine+ Wave or Creatine+ Straight perm works to change the structure and shape of your natural hair, so your hairdresser can encourage strands to take on any type of texture you’d like. The Creatine+ complex is formulated with a combination of high-conditioning ingredients to leave hair shinier and bouncier. Plus, the blend of nourishing ingredients also helps your perm last longer. It’s a win-win.
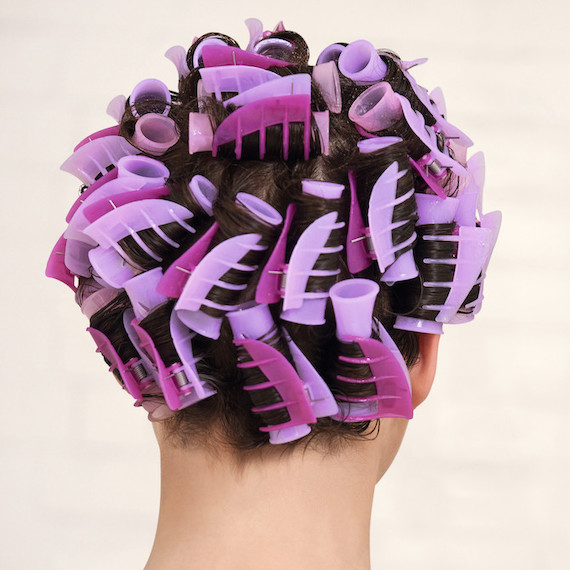
When you book in for a Creatine+ perm, your hairdresser will start by winding sections of your hair around rods – the thinner the rod, the tighter the curl – before applying the Creatine+ perm lotion to set your curls, waves or straight style. After the lotion has worked its magic, your hairdresser will rinse the rods and apply the WellaPlex No1 Bond Maker to strengthen strands. They’ll follow that with the Creatine+ Neutralizer to halt the perming process.
After removing the rod placements, another rinse of neutralizer will be applied, and your service will be completed with the WellaPlex No2 Bond Stabilizer. Then, after locks have been dried, you’ll be working the lush wavy texture, silky-straight strands, or bountiful curls that you’ve always dreamed about.
Does a Perm Damage Your Hair?
Any chemical process may affect the condition of your hair. However, modern perm formulas have come a long way in recent years, and now feature gentler ingredients that respect the hair’s natural integrity. The way perms impact your strands will depend on the hair type you’re working with. If you have dry hair or very thin hair, your hairdresser may recommend you improve the condition before you perm to avoid any potential damage like hair breakage. Have a consultation with your hair stylist ahead of your perming appointment so they can assess your current hair type, and advise you on a service plan that works uniquely for you.
How to Prepare Your Hair for a Perm
If you want to prevent perm damage, it’s important you get your tresses in tip-top condition. In the weeks leading up to your appointment, follow these tips to strengthen strands from the inside out…
1. Shampoo and Condition with Repairing Hair Care
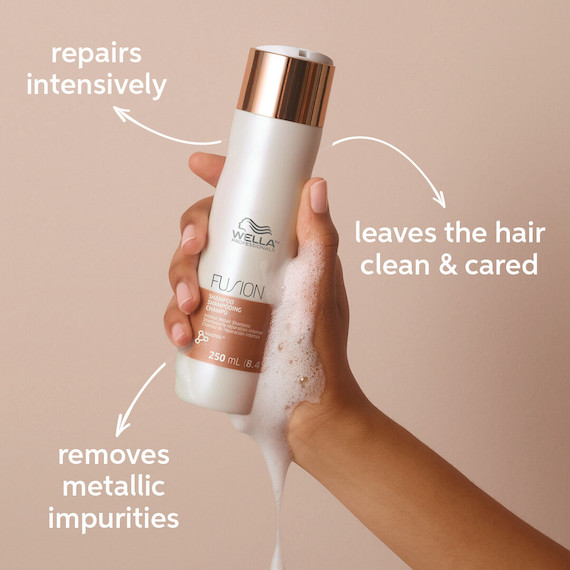
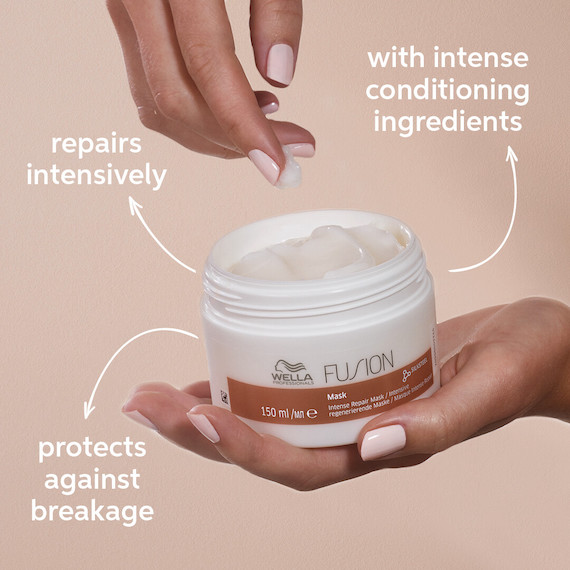
‘Repair’, ‘fiber’ and ‘cortex’ are the words you’re looking for when strong, healthy hair is your goal. Opt for hair care that works deep in the hair shaft, through to the inner cortex, to improve resilience ahead of your perm appointment. Fusion Intense Repair Shampoo and Intense Repair Mask fit the bill thanks to a formula inspired by the fibers that form spider web-like structures. The shampoo gently cleanses, while the mask is packed with silk proteins that leave strands smooth yet strong.
2. Boost Hydration with Nourishing Oils and Creams
Now is the time to rethink your styling routine, and upgrade it with moisture-boosting must-haves. Think nourishing oils that seal the cuticle to tame frizzy hair, and light, luxurious lotions that plump strands while giving hairstyles hold. After washing your hair, treat the mid-lengths and ends to INVIGO Nutri-Enrich Frizz Control Cream, then layer Oil Reflections Luminous Smoothing Oil through drier sections.
Remember: the order you apply your products in is important if you want to reap the full rewards. Always start with the thinnest formula, then work up to richer oils or balms. This way, the thicker product doesn’t ‘block’ the thinner lotion.
3. Reduce Hair’s Exposure to Heat Styling
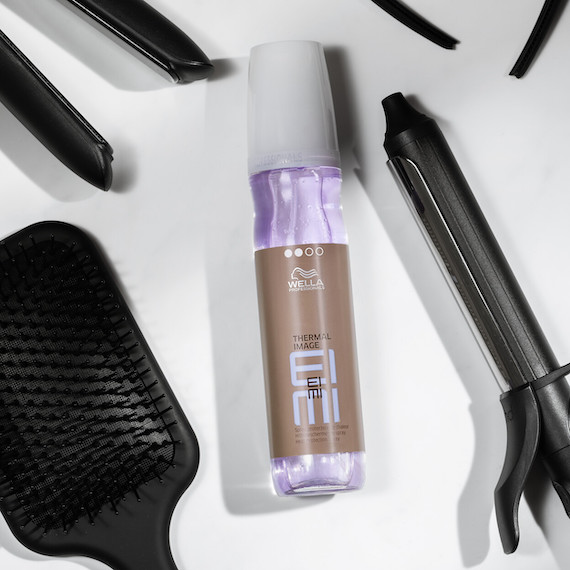
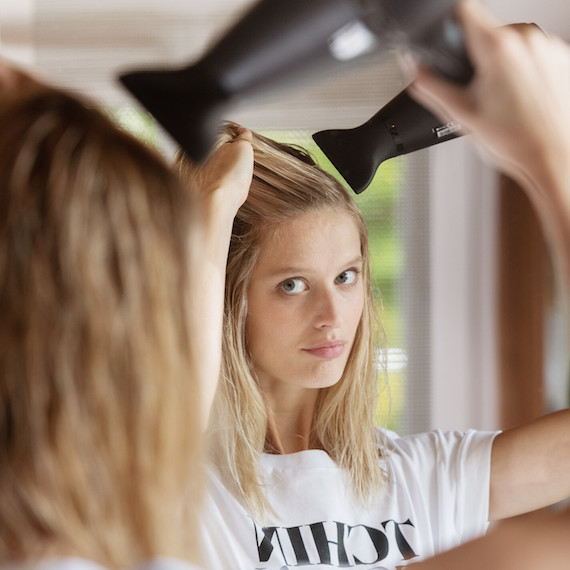
The last thing you want is heat damaged hair in the lead-up to your perm appointment, so take a break from hot styling tools where possible. On days when you can’t skip blow drying, straightening or curling your hair, make sure it’s well protected first with EIMI Thermal Image, misted from root to tip. For drier hair, use EIMI Flowing Form. Apply your heat protectant before you dry your locks then, when hair is 100% dry, add another layer to shield strands from the heat of your straighteners or curling iron.
4. Avoid Haircuts That Thin Your Hair
At least for now, avoid haircuts that involve layering or thinning your hair. You want strands to be at their fullest and thickest before you go in for your perm, so your new style looks healthy and voluminous. If you’re getting a wavy or curly perm, it’s also important to remember that hairdressers cut curly hair differently, so you may want to hold off any style switch-ups until your new texture is set.
How to Care for Hair After a Perm
If you’ve just left the salon and your perm is looking flawless, it’s time to kick into maintenance mode. With the right care and conditioning products, your waves or curls will maintain their new shape for longer…
1. Wait Before Brushing or Washing Your Permed Hair
Your stylist will advise you on how long you should wait before you brush or wash your hair post-perm, and this will usually be a minimum of 48 hours. Take their advice and wait it out so the chemicals have a chance to do their work. We also recommend avoiding humid temperatures or sweaty workouts during this time.
2. Treat Your Perm to Wavy or Curly Hair Care
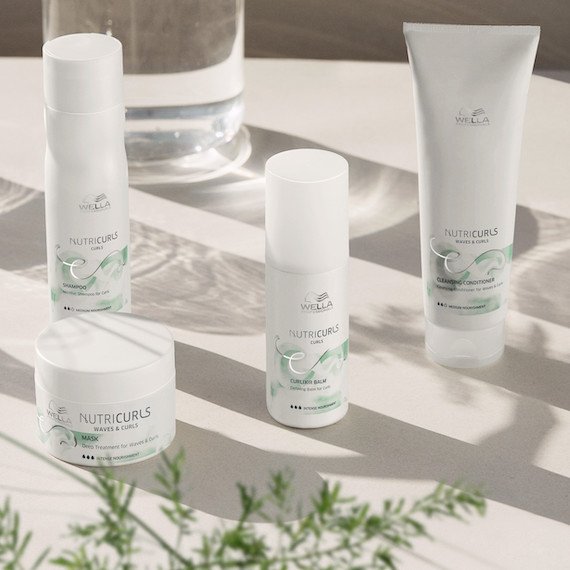
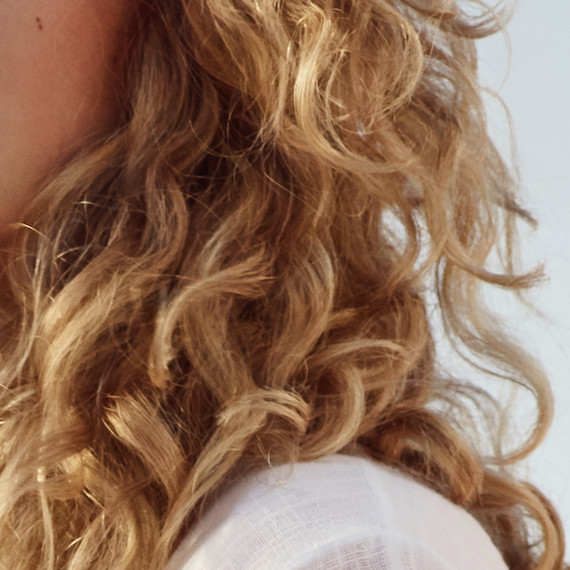
Once your perm is set, treat your hair as you would if it was naturally wavy or curly. That means upgrading your routine with specialized hair care that’s designed to respect your new texture. If moisture levels feel balanced, reach for NutriCurls Micellar Gentle Cleansing Shampoo, which traps impurities in molecules called ‘micelles’, so they can be easily rinsed away without stripping strands. For dehydrated curls or waves, try co-washing with NutriCurls Cleansing Conditioner. It’s a creamy, low-foam cleanser that delicately removes dirt while hydrating hair from root to tip. And, last but not least, add NutriCurls Detangling Conditioner to your curly kit. It offers enough slip to keep locks soft and supple for drying and styling.
3. Apply Deep Conditioning Treatments to Your Perm at Home
If your hair is feeling dry after a perm, make sure you add a weekly hair mask to your hair washing routine. NutriCurls Deep Treatment for Curls and Waves bestows strands with nourishment, but won’t drag those newly permed tresses down. Meanwhile, INVIGO Nutri-Enrich Deep Nourishing Mask offers extra richness in a creamy formula, perfect for enhancing definition and giving dry or damaged hair its bounce back.
4. Dry Your Permed Waves or Curls Carefully
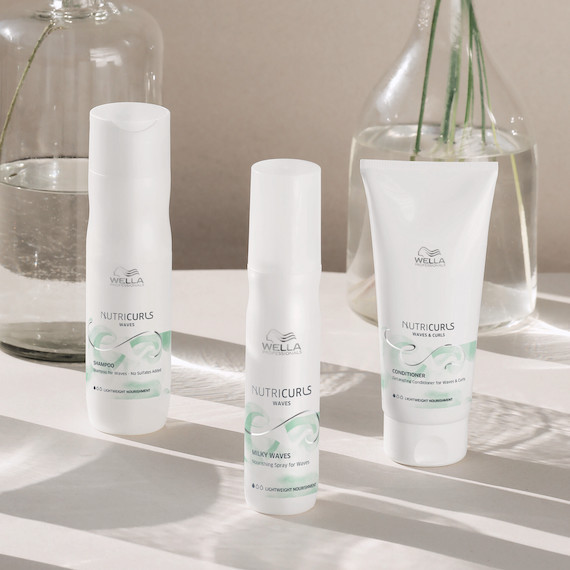
Because tresses are more prone to breakage while they’re wet, you should be careful when drying curly or wavy hair. First, make sure you blot lengths dry with a microfiber towel or soft cotton t-shirt, taking care not to rub or scrub. Then apply a texture-enhancing product, like NutriCurls Milky Waves (for waves) or Curlixir Balm (for curls), gently scrunch, and blow dry on a low heat with a diffuser attachment. The diffuser ensures heat is evenly distributed through your hair, so you don’t end up blowing curls and waves out of shape or encouraging flyaways.
5. Detangle Permed Hair from the Ends First
Detangling curly hair needn’t be tricky. Simply follow these three rules to keep your textured perm knot-free:
- Make sure you moisturize locks first.
- Never drag your comb from root to tip.
- Take your time to work out every last tangle.
It’s easier to detangle hair when it’s damp, so start by softening knots with a leave-in spray. We like to mist the Elements Renewing Leave-In Conditioner through mid-lengths and ends for a boost of hydration. Then, start detangling from the tips of the hair before gradually moving higher and higher. Do this until every last knot is gone; your curls or waves will be easier to tame and style to perfection.
And, with that, you’re ready for your appointment. Just remember, it’s important to be patient with freshly permed hair. The gentler you treat it, the better your perm will look.

