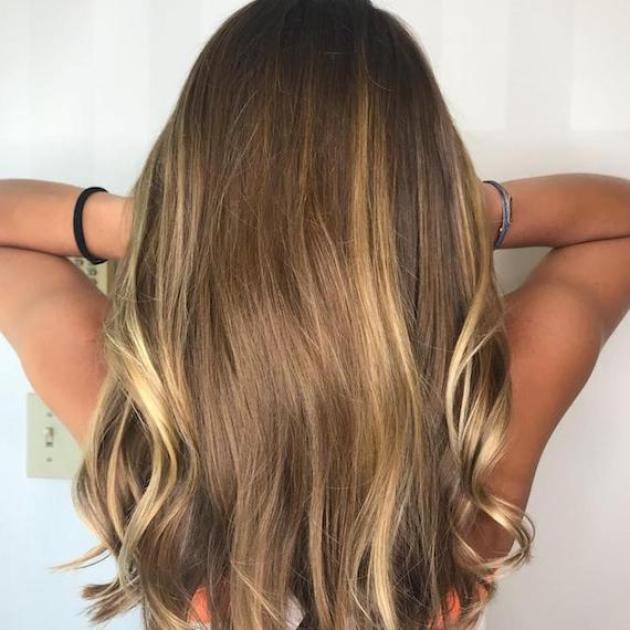
The Complete Guide to Partial Balayage: Your New Obsession
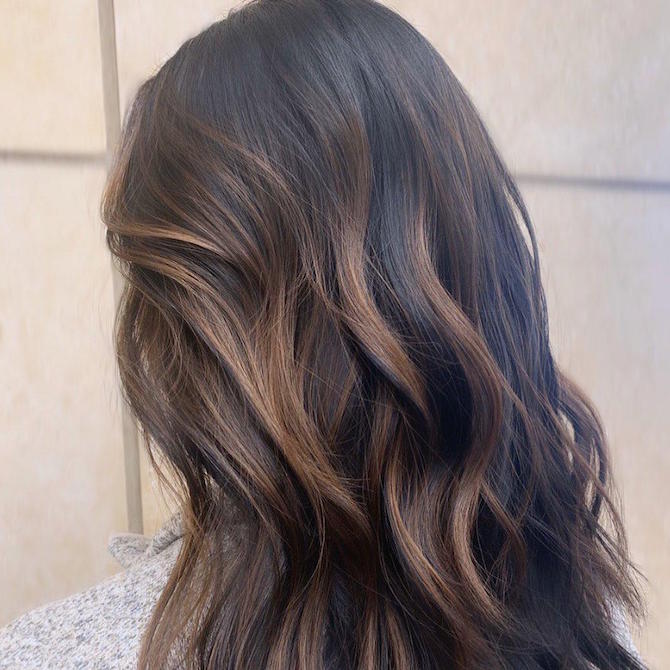
Balayage is the trend that never fades. Because it looks different on everyone, it always feels fresh and new – no matter how many of your clients ask for it. And now there’s another way you can perfect those freehand highlights, using partial balayage to add soft, subtle ribbons of light-reflective color. Here’s the lowdown on the look…
What is Partial Balayage?
The clue’s in the name. Partial balayage means lightening only a part of the hair, focusing sweeps of lightener – we love Blondor Freelights – through the top layer or face-framing sections only. Not only does this give you a super-subtle balayage effect, but it’s also less time-consuming than coloring all layers of the hair.
The effect is ultra-flattering too; partial balayage allows you, as a creative colorist, to pick out the pieces that will best enhance your client’s unique features. All balayage is bespoke, but going for a partial application means you can really home in on the areas that will make their hair and complexion glow. What could be better?
What’s the Difference Between Full and Partial Balayage?
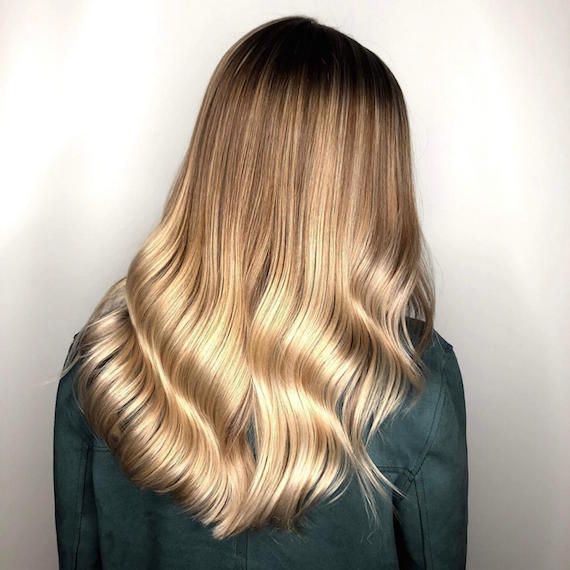
Image Credit: @head_attack
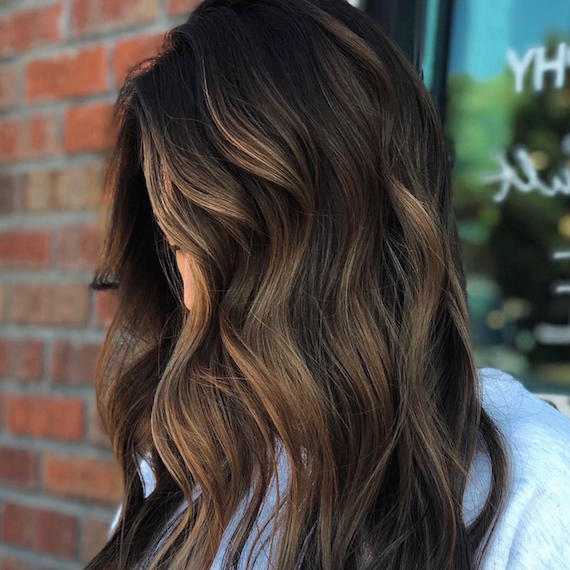
Image Credit: @hair.byabby
While a full balayage sees you stroke lightener through the majority of the hair (including top and bottom layers), a partial balayage means you tend to focus on just one area, like the front or the top layers. Both the technique and the finished look are different, with full balayage (above, left) creating a more noticeable lift, and partial balayage (above, right) adding just accents of brightness, as though a spotlight is shining on mid-lengths and ends.
What’s the Difference Between Partial Balayage and Partial Highlights?
Partial highlights, also known as subtle highlights, are similar to partial balayage in that they’re only applied to specific sections or layers of the hair – not scattered all over. However, while highlights typically follow a root-to-tip pattern, balayage is swept in a painterly way, so your clients get a more personalized finish. Both lend a beautifully delicate touch of brightness, but partial balayage is your go-to for softer regrowth and a sun-kissed effect.
How Long Does a Partial Balayage Take?
The length of time it takes to do a partial balayage depends on how much hair you’re working with. After all, a balayage bob requires less ambitious lightening than mermaid hair. However, one thing you can guarantee is that it takes less time than a full balayage, as you don’t have to meticulously section and sweep through the lower layers. This means it’s a great service to recommend to clients who are short on time, new to coloring their hair or who want a service with minimal maintenance.
How Do You Apply Partial Balayage?
Follow this step-by-step to master your partial balayage technique…
1. Check the roots
First, check if your client wants any root shading. Usually, this can be done at the same time as balayage, but if they ask for complete gray root coverage, you might want to do a double process. This means you would apply and rinse the root smudge first, then rough dry locks and begin sweeping on their partial balayage.
2. Blend the formula
If you’re applying partial balayage on dark hair or creating shimmery blonde highlights, your client’s locks will need some level of pre-lightening. Try Blondor Freelights for easy-to-apply balayage; the adhesive mass ensures it stays exactly where you apply it, and the creamy consistency allows for effortless blending. The other great thing about Freelights Developer is that you can also mix it with Magma by Blondor, for freehand lift and tone in one step.
3. Use a higher volume developer
When you’re applying balayage without foils but you still want the brightness of foilyage, try increasing the volume of the hair developer to get a little more lift from open-air lightening.
4. Plan out the placement
Talk to your client about the kind of effect they want from partial balayage. Are they craving depth and dimension? Is their focus on brightening the face-framing layers? Find out and plan your placement accordingly. Then, when you start applying, begin with the section where you’re aiming for the highest lift, as the pre-lightener will end up staying on these strands for the longest.
5. Keep sweeping lightener on
Continue stroking highlights through the chosen area of hair, sectioning pieces off as you go. Here’s where your creativity really shines through; it’s your chance to play with dimension and personalize your client’s color.
6. Tweak with toner
When you’ve reached the desired underlying pigment, your client’s balayage might be ready to glow. However, sometimes a toner is needed (after washing out lightener) to tweak their ‘lights further. For the lightener and toner to work in tandem, they should be on the same level. So, for example, if you’ve lightened to the underlying pigment of a level 8, you should use toners that also begin with 8/.
7. Wash and go
You’ve made it. You’ve given your client a partial balayage to be proud of, and now it’s time to wash out the product so their hair is ready to blowdry and style. Use ColorMotion+ Color Protection Shampoo, followed by Blondor Seal + Care, which neutralizes the pH level of just-colored locks.
Partial Balayage Inspiration
Looking for more partial balayage ideas? Scroll through these looks and show them to clients who ask, ‘how can I make my highlights more subtle?’
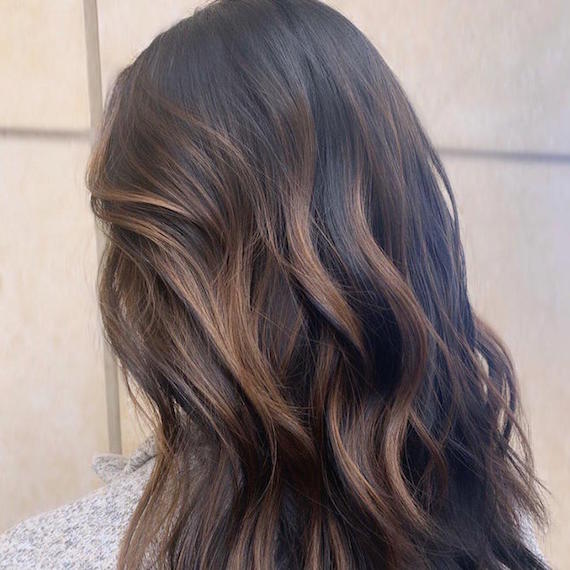
1. Partial Balayage for Dark Hair
Image Credit: @beautyby_laura
Lending the dreamiest chocolate brown finish, this brunette balayage gives dark locks a lift through the top layers, enhanced with tousled waves that increase dimension.
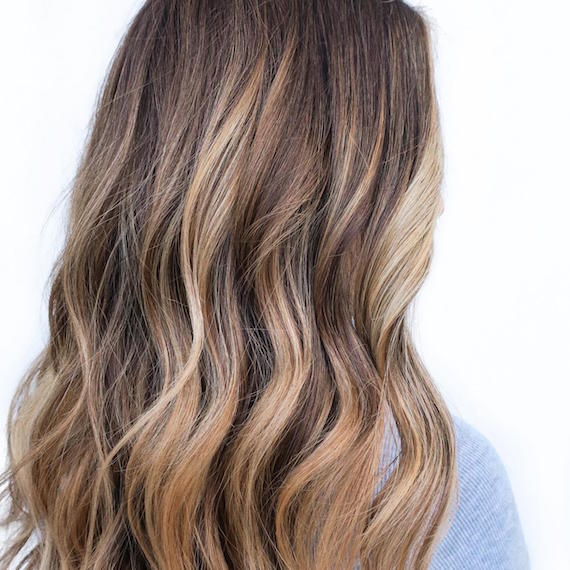
2. Partial Balayage for Blonde Hair
Image Credit: @coloristnat
Dark blonde hair gets a sun-kissed upgrade with partial blonde balayage. The lightener has been focused through the upper layer, with a brighter finish for those face-framing tendrils.
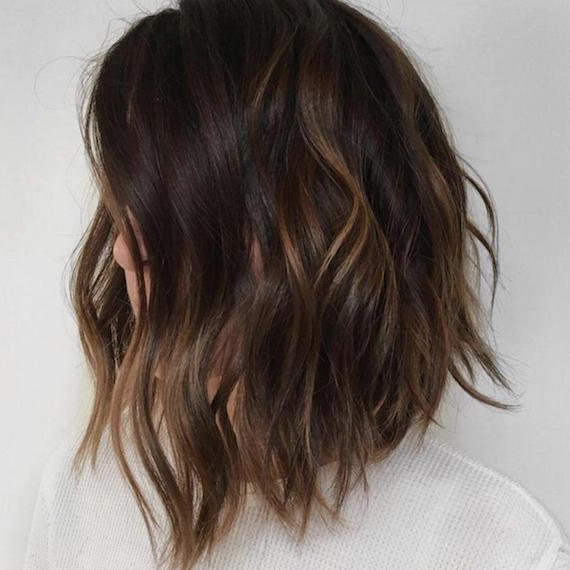
3. Partial Balayage on Short Hair
Image Credit: @fer_tapia_del_valle
Fans of a balayage bob will love this partial balayage. Touches of golden brown intertwine through deep brunette locks, creating luminosity through piece-y top layers.
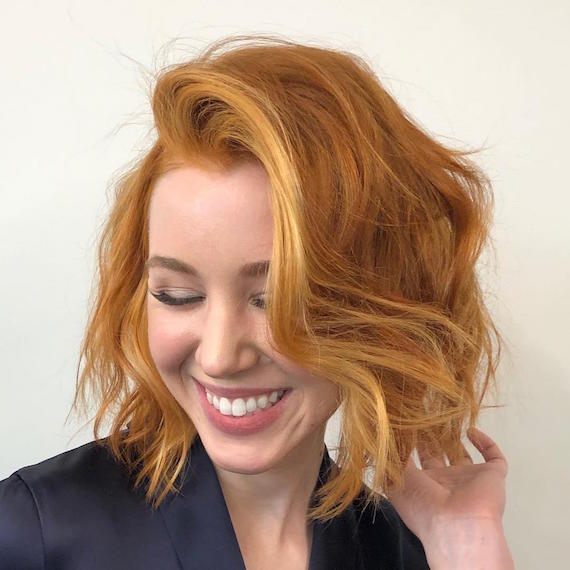
4. Partial Balayage on Red Hair
Image Credit: @shannonrha
Face-framing highlights meet a fiery copper hue in this partial balayage look, where the lightener has been carefully applied to the front of the hair to make skin even more radiant.
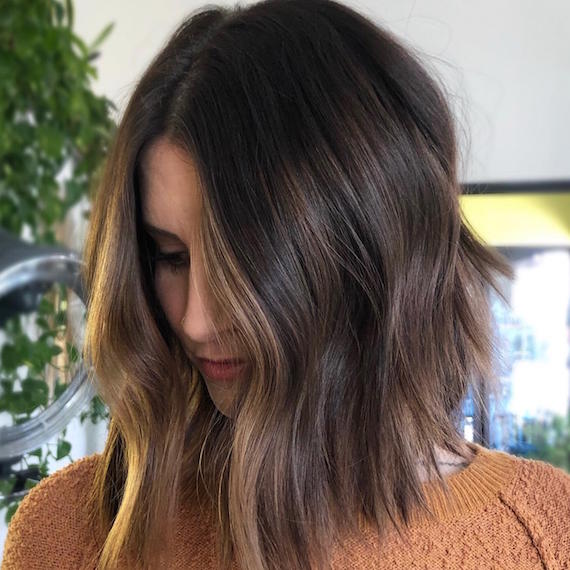
5. Partial Babylights
Image Credit: @jt_hairandmakeup
What do you get when you create money piece highlights in micro-fine ribbons? We call it partial babylights; a look so subtle, it could almost be natural. Obsessed.

