How to Do Balayage for Curly Hair
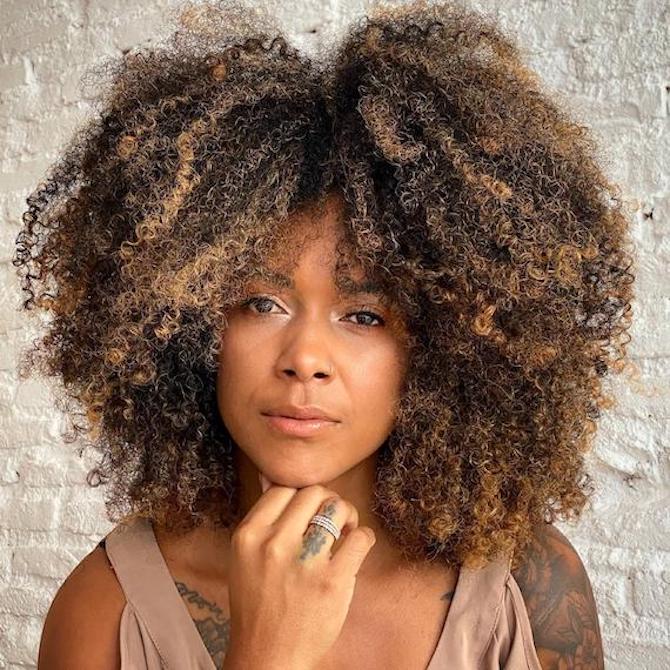
When it comes to enhancing curly hair, no colouring technique can do it like balayage. It’s a failsafe for boosting definition, shaping curls and setting your clients’ hair aglow. However, balayage for curly hair is quite different to balayage for straight hair, with the extra texture calling for more tactical placement of those freehand ribbons.
So, how do you create the perfect curly balayage? Here, we reveal the tips, tricks and techniques that will keep your client’s locks looking sun-kissed all year round. Tint brush at the ready...
Is Balayage Good for Curly Hair?
In short: yes. It’s great for bringing out the beautiful texture in curls, with a few strokes of lightener helping to highlight every curve of your client’s natural coils. Because balayage is a freehand technique, it allows you to personalize placement to each head of hair you colour – whether your client has springy 3A ringlets or tighter 4B kinks.
The trick is to choose a shade that’s around two shades brighter than the base, resulting in a natural-looking glow that flatters everyone. (And we mean everyone.) However, new twists on a traditional balayage have emerged in the salon, allowing you to offer an even more bespoke service with a ‘mix and match’ of techniques.
4 Balayage Techniques for Curly Hair
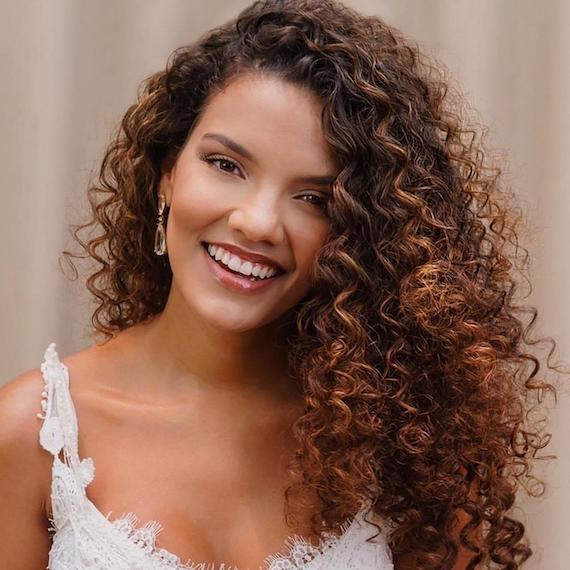
Traditional Balayage
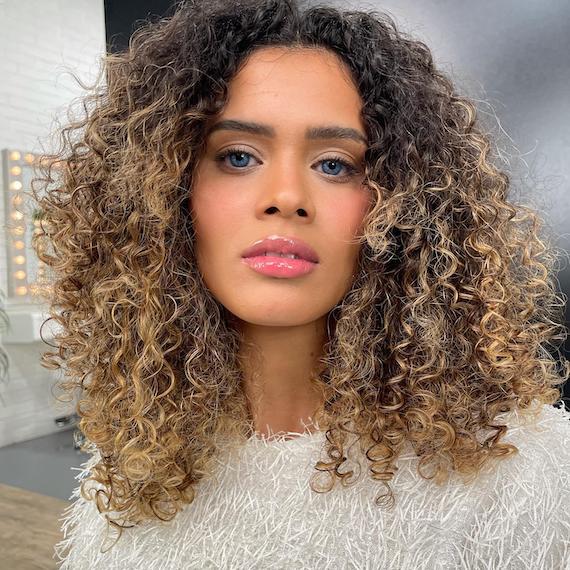
Image Credit: @lotufo
You know the score here. A traditional balayage sees sections of hair lightened from mid-lengths to ends, without following the precise pattern of root-to-tip highlights. Your goal is to sweep colour in the sections that crave a little extra enhancement, then let the lightener develop in the open air for a soft and seamless effect.
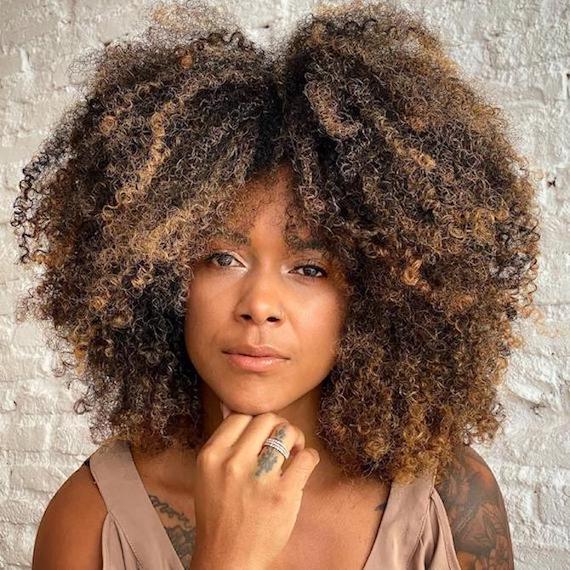
Foilyage
Image Credit: @tuliomrb
Like balayage, foilyage relies on painterly strokes of colour or hair lightener. However, instead of developing in the open air, you wrap those freehand ‘lights up in foils. This increases the lift for a sparkling, shimmering finish that looks fresh through the face-framing layers. Consider teaming with sweeps of traditional balayage for a combination of soft and bright pieces.
Twilighting
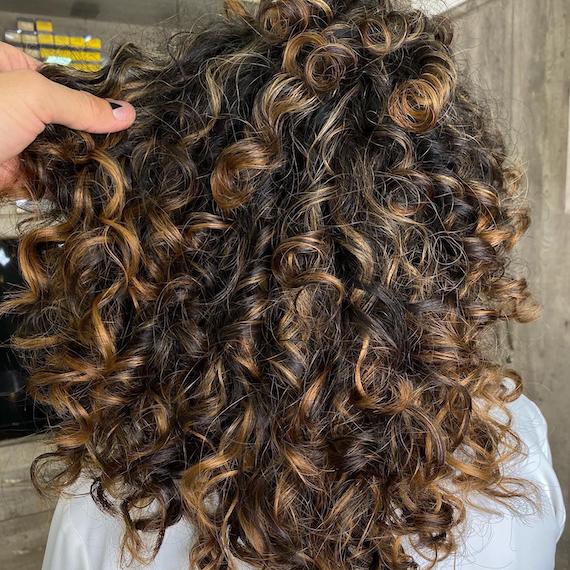
Image Credit: @rickymoica
When creating highlights on dark brown hair, twilighting is your glow-to technique. It sees golden hues stroked through brunette locks, resulting in a ‘moonlit’ finish that shimmers from day to night. What you’re aiming for is a bold contrast between the base and the balayage, so those lightened pieces make a striking statement that’s around three shades brighter than your client’s natural hue.
Chunky Balayage
Image Credit: @creativestaffpro
Like chunky highlights, chunky balayage is great for enhancing bumper curls, or making your client’s coils look a little bit thicker and bouncier. So don’t be shy with the tint brush; apply in generous swathes to wider sections of hair for those clients who crave volume. More is more when it comes to this lustrous look.
How to Do Balayage On Curly Hair
Whatever balayage technique you choose – foilyage, twilighting, chunky or traditional – the product you choose and your colour placement is going to be the same. So, follow these steps for every curly balayage you undertake...
1. Decide Whether to Straighten Hair First
For clients who often straighten their curls or have texture on the looser side, you could opt to flat iron their lengths before you balayage. If you decide to take this route, mist dry locks with EIMI Thermal Image heat protection spray first, smooth with the Pro Straight Color Hair Straightener, then read our Balayage for Straight Hair guide to complete the steps.
2. Pick the Perfect Product
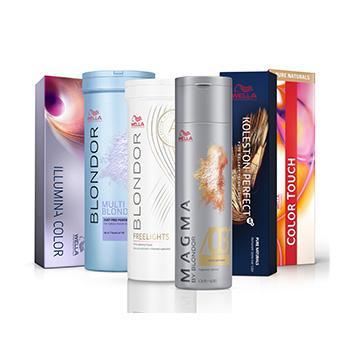
Before you start sectioning off your client’s hair, mix up the perfect formula. Our pick for balayage is Blondor Freelights, which is specially formulated to work with freehand techniques. It has an adhesive mass that prevents the product from smudging onto other strands, so it stays exactly where you place it; ideal for open-air development.
3. Section to Perfection
Separate the top center section of your client’s curls by taking a diamond-shaped piece of hair, then pinning it up with a clip to reveal the lower layers. Beneath the diamond, take vertical sections of hair and stroke the lightener downwards, away from the root. Pivot around the head, sweeping the formula where a boost of brightness is desired. Then, release the top section and repeat the process. Allow to develop.
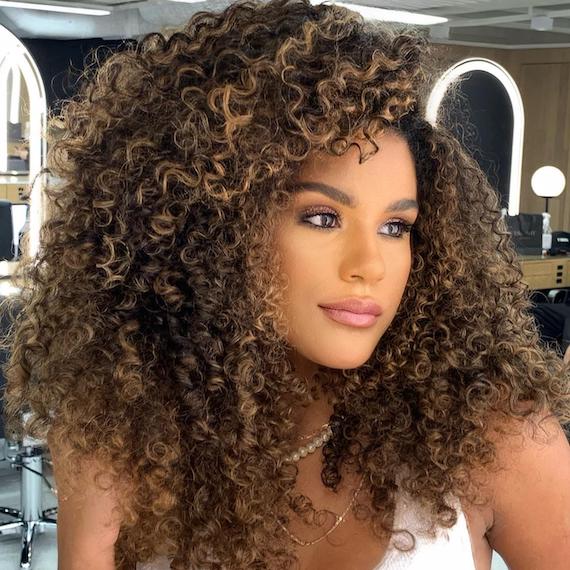
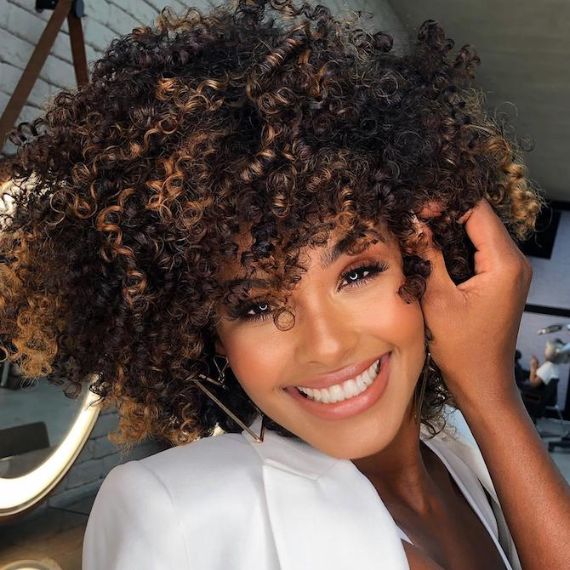
Image Credit: @dougllas | @romeufelipe
4. Rinse and Dry
Once the lightener has lifted to the correct level, take your client to the sink and rinse their curls. Use a colour-kind shampoo, like INVIGO Color Brilliance Color Protecting Shampoo, followed by Blondor Seal & Care to neutralize the pH levels in the hair. Towel-dry to remove moisture.
5. Tone and Glow
Even if you’ve reached a flawless level of lightening, adding a toner is a must for refining the results. To reach your client’s dream hair colour, choose their product depending on the level of commitment and finish they’re going for. Pick permanent Koleston Perfect for long-lasting, intense colour, Color Touch for demi-permanent, glossy tones, or Color Fresh for a semi-permanent, zero-damage tint.
6. Coif Their Curls
Once colour is fully rinsed, follow a styling routine that suits your client’s curl type. Prep for drying with the EIMI Curl Shaper 72h Curl Defining Gel-Cream, followed by the EIMI Boost Bounce 72h Curl Enhancing Mousse to highlight shape and texture. Make sure you use a diffuser when blow-drying curls then, for a little extra bounce, tong sections with the Pro Curl Conical Hair Curler. And, you’re done.
How to Care for a Curly Balayage
Make sure your client leaves the salon with tips for maintaining their balayage. What they need is a colour-kind routine that pampers their curls and locks down their highlights in one. Suggest a gentle shampoo, like NutriCurls Cleansing Conditioner For Waves & Curls, which delicately cleanses from root to tip, without stripping away colour.
Then, if their hair is dry, recommend they follow up with NutriCurls Deep Treatment for Waves & Curls. If their curls have more elasticity, a lighter cream, such as Nutricurls Detangling Conditioner for Waves & Curls is perfect. Meanwhile, the NutriCurls Curlixir Balm is a defining dream cream that lends bountiful bounce. It’s a must-have for parched curls, designed to be applied to towel-dried hair before blow-drying or air-drying.

