Bottleneck Bangs are Shaking Up How You Trim a Fringe
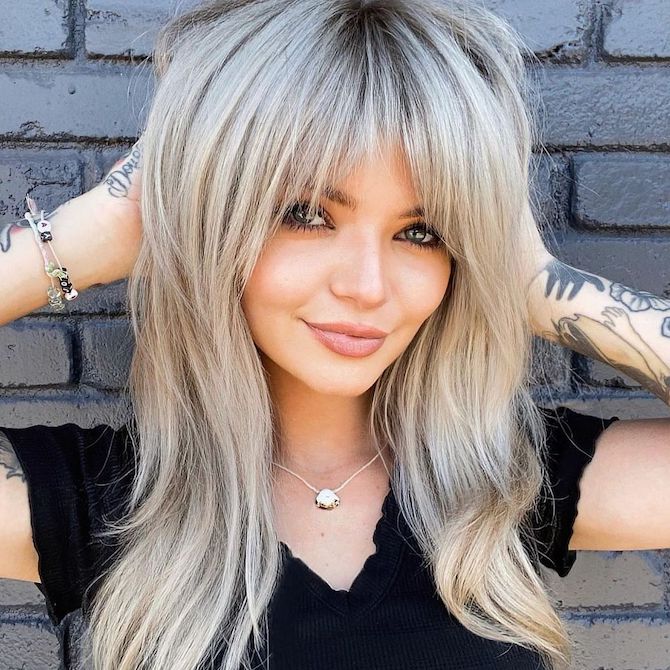
Have you heard about bottleneck bangs? Giving blunt, face-framing cuts an easy-breezy upgrade, this new style is short and sharp in the center, but graduates into soft, grown-out pieces at the sides. The result: a trim that suits all face shapes, with an undone, laid back vibe that’s trending right now. If your client is looking for bangs that feel effortless, this bottleneck style makes the grade.
Here, we reveal how to create the look for your clients, the colour techniques that will enhance their cut, and the styling tricks that will keep their bangs looking flawless all day long…
What are Bottleneck Bangs?
Bottleneck bangs are a blend between a full fringe and a grown-out fringe, with the shorter, fuller bangs falling in the center, and the grown-out pieces lending a feathered effect at the sides. This ‘best of both worlds’ style is flattering for all face shapes and most hair types. Just make sure your client is ready for the upkeep that comes with bangs (all types – not just bottleneck bangs). You can trim the middle to be ultra-blunt if they’re going for an edgier vibe, or keep the ends soft and piecey to pair with a shag. The choice is up to you and your client.
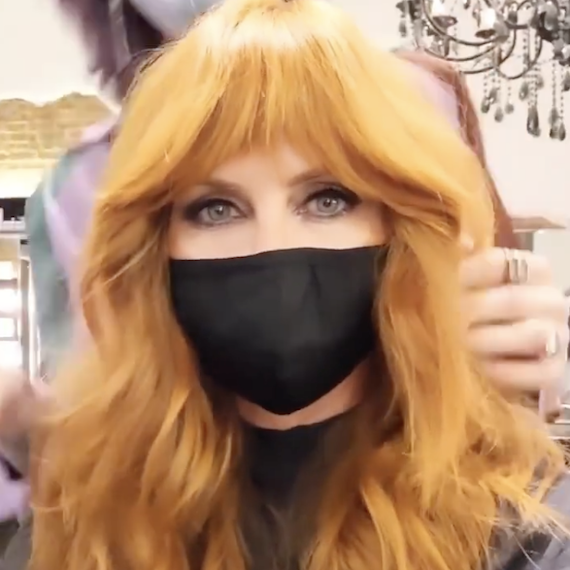
Image Credit: @thelocksoflondon
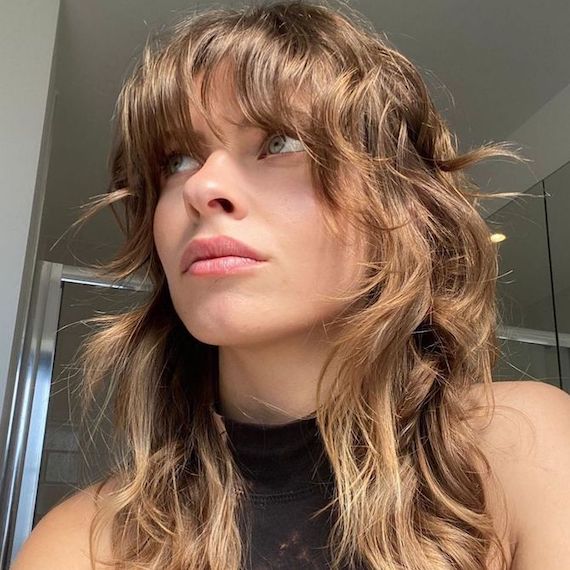
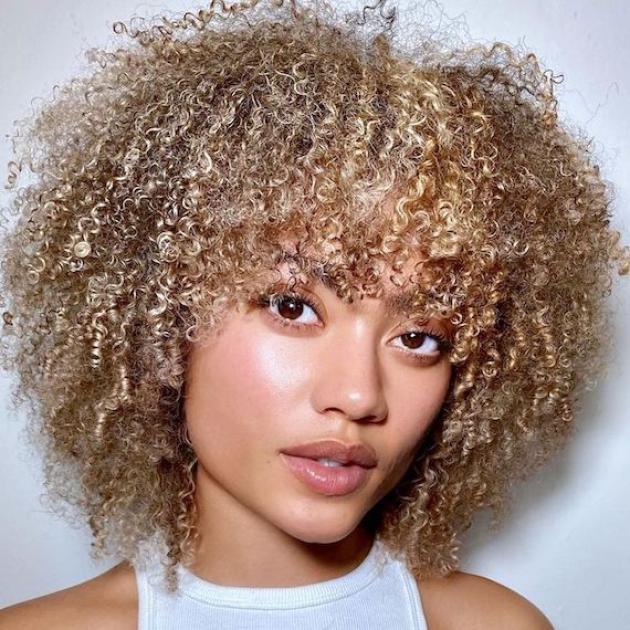
Image Credit: @jordannacobella
How to Cut Bottleneck Bangs
1. Assess the Starting Point
What’s the starting point for your client’s cut?
If they don’t yet have a fringe, we recommend trimming the full front section first, going no shorter than the longest point in the desired final look – usually just in line with the top of the cheekbones.
If they already have a short, straight-across fringe, they may need to wait a while longer to try the cut, unless you think there’s already enough length to make the side sections appear grown out.
If they have a grown-out fringe, you have the easiest canvas to work with. Your goal will be to tidy up the side sections then simply shorten the middle to create that tapered bottleneck effect.
2. Trim the Center of the Fringe
Starting in the middle of the forehead, point cut up into dry hair to make this section shorter. Go gently, checking in with your client regularly to make sure you’re hitting their ideal length. Some bottleneck bangs feature a micro fringe in the center, while others don’t contrast too much with the length of the longer side sections. It’s all about personal preference, so a slow and steady approach to trimming is best here.
3. Tidy the ‘Grown-Out’ Sections
Once you’ve perfected the middle section of your client’s bangs, start tapering out to the sides. Gently feather the hair, so the center seamlessly graduates into grown-out side bangs. This part of the cut is all about softness, so don’t be afraid to blend it in with long, piecey layers throughout the rest of the hair. A little undone shagginess will really set the look off and give it added impact.
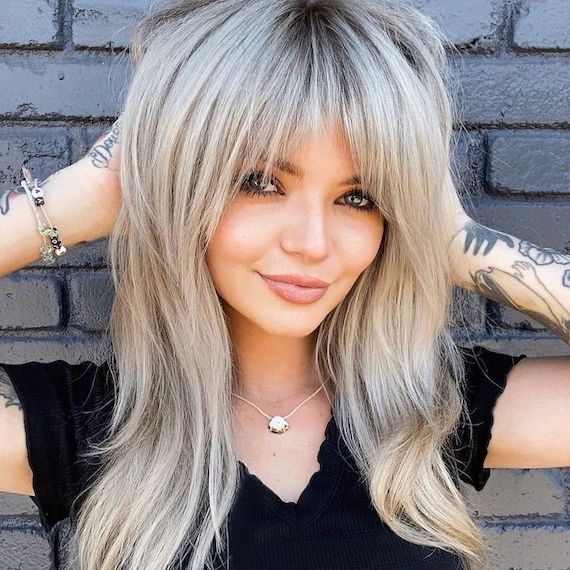
Image Credit: @rachelwstylist
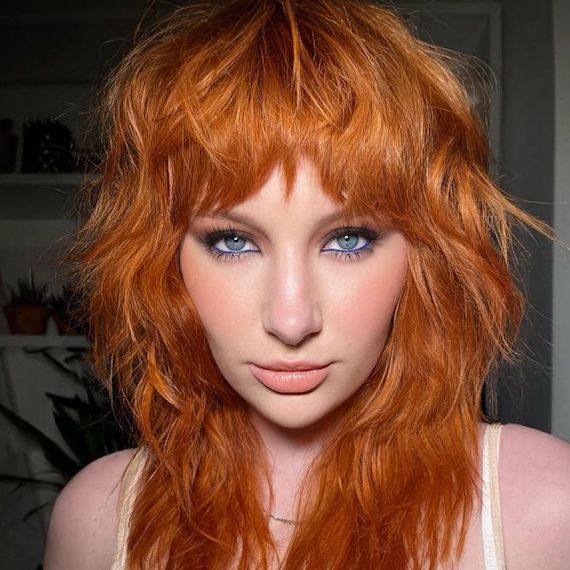
Image Credit: @jhair_stylist
How to Colour Bottleneck Bangs
If your client doesn’t yet have bangs and needs a dramatic trim to reach the look, we recommend cutting first then colouring, so you don’t waste product on sections that will soon be cut. The general rule for colouring bangs is that they should match the rest of the hair. That means, if locks are all one colour or feature highlights, the same technique should be matched through the fringe.
Meanwhile, if your client is working a balayage with lightener focused through the mid-lengths and ends, we recommend matching bottleneck bangs to the root colour. You can still introduce some lightness and brightness by sweeping face-framing highlights through a center-parted fringe, or adding some very fine weaves to the ends of the grown-out side sections.
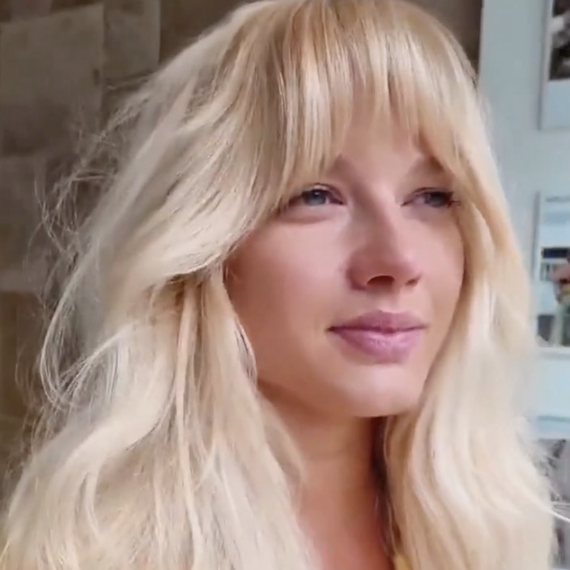
Image Credit: @jordannacobella
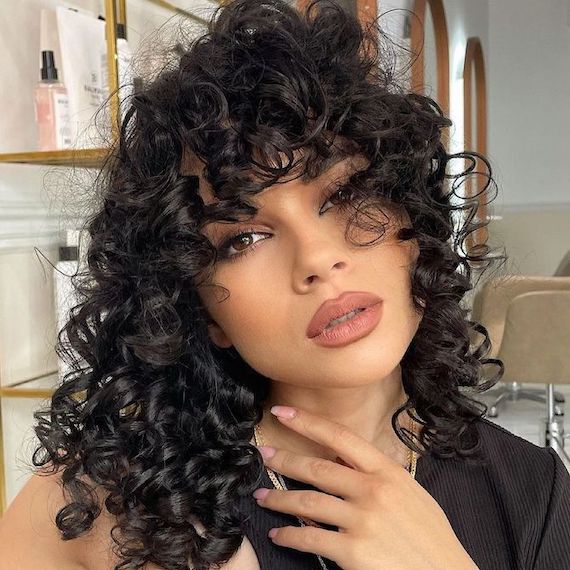
Image Credit: @marianiliehair
How to Style Bottleneck Bangs
The beauty of bottleneck bangs is all in the styling. Just a flick of the brush can take your client’s style from laissez-faire Parisian vibes to seventies Farrah Fawcett – so what are they going for? Before they leave the salon, blow-dry their bangs to suit their desired style, and offer tips along the way so they can recreate it at home.
For a Chic Parisian Vibe
Style those bottleneck bangs straighter for an effortless Parisian look. Dry hair forward with a paddle brush, gently lifting from beneath the fringe as you point the hair dryer nozzle downwards. Once bangs are completely dry, use fingertips to ruffle the center and smooth the sides. You can even add a middle part, using EIMI Mistify Me Light on a spoolie to tame.
For a Seventies-Style Flicks
If your client wants the ends of their bottleneck bangs to flick out a little, rough dry the hair forward first with a touch of EIMI Perfect Me on the very ends. Then, when hair is 100% dry, use fingertips to slightly part bangs in the center, and glide your straighteners through the grown-out side sections, beveling upwards and outwards as you reach the tips. Give the rest of the hair a bouncy blow-dry with a curve through the ends, then set with a light misting of EIMI Mistify Me Light.
Now you’re ready to start crafting your own bottleneck bangs creations. So what are you waiting for? Don’t forget to share your masterpieces on Instagram and tag us using @WellaHairUKI.

