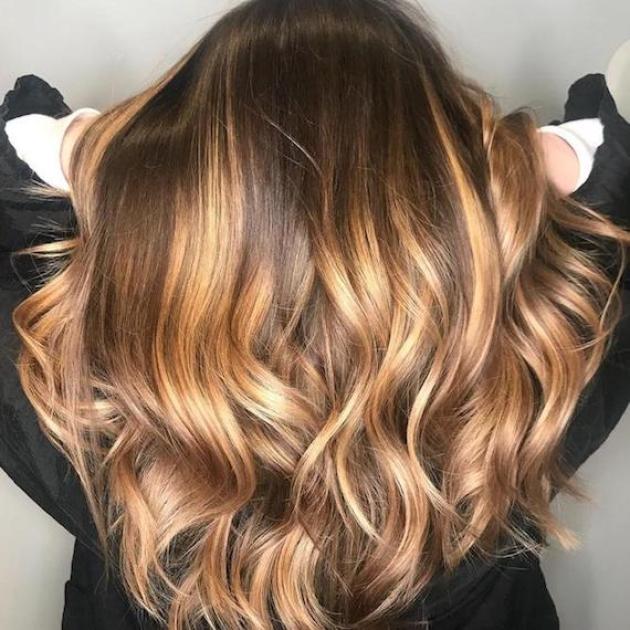
HIGHLIGHTS VS. LOWLIGHTS: WHAT IS THE DIFFERENCE?
When it comes to adding dimension to your clients’ locks, there are two key techniques you can choose: highlighting for luminosity and lift or lowlighting to achieve richness and depth. But when it comes to highlights vs. lowlights, how do you know what will suit your client best? Keep scrolling for the full lowdown on adding a scattering of natural-looking, flattering tones and discover the difference between highlights and lowlights.
What Are Highlights?
Simply put, highlights are strands of hair that are lifted to be a few shades lighter than the base. They brighten up areas of the haircut, whether you go for only one level of lift or a more contrasting effect. Highlights work through any base colour, from blonde shades to bold reds and even dark brunettes, adding light-boosting luminosity that flatters everyone.
And, these highlights can be applied in all manner of styles, whether you paint them on from root to tip, or feather towards the root to perfect a soft and sun-kissed balayage finish. Balayage is an ultra-creative technique, allowing you to personalize your client’s look with open-air, freehand lightening and, sometimes, a scattering of highlights in foils. The balayage in foils – dubbed ‘foilyage’ – allows for greater lightening, so you can add extra brightness wherever your client desires.
As for the level of lift, this all depends on the final look your client craves, but we typically suggest staying within three levels of the base color for the most natural transition. This means redheads would be enhanced with lighter coppery tones, while highlights for brown hair may have a warm caramel blonde feel.
What Are Lowlights?
Lowlights take the base colour deeper. They’re added when your client wants a little extra depth in their hair and can be used to neutralize brassy tones or correct color that’s been lifted too light. Unlike highlights, they’re typically achieved with a demi-permanent, toner or gloss instead of a pre-lightener, which means lowlights are also a gentler option – ideal for clients with sensitized hair.
You can apply lowlights from root to tip or with a reverse balayage technique, which sees deeper shades painted through the mid-lengths and ends to break up the base color. On bright blondes, this might mean adding honey blonde hues to lend a little warmth, while on light brown hair, slices of dark chocolate brown enhance the richness of locks and up the shine.
As for which shade to use, we love demi-permanent Color Touch for creating lowlights. It’s a gentler option that fades nicely for clients who aren’t ready to commit fully to a darker look. You could also try permanent Koleston Perfect. Not only does it deliver pure pigment and shine, but it also gives you up to 100% gray coverage. This is perfect if your client has any silver strays they want to disguise, as you can tactically paint on lowlights to cover those very first signs of gray.
What Are Babylights?
You can’t talk about highlights and lowlights without mentioning the babylights technique. Babylights can go high for lift or low for depth, but they should always appear micro-fine and subtle. The clue’s in the name with this one; the ‘lights are ‘baby-sized’, because you paint color onto much smaller sections of hair, using a fine-toothed comb to neatly section off the strands. Opt for babylights when you want highlights or lowlights to appear virtually undetectable, creating the subtlest color shift that appears entirely natural-looking.
What’s the Difference Between Highlights and Lowlights?
Now you’ve got the full lowdown on highlights and lowlights, let’s break down some of the key differences, from the types of formulas you should use to the finished look you’ll achieve…
- Highlights show up more on dark hair, while lowlights appear more prominent through lighter locks. You can apply lowlights to dark hair and scatter highlights through an already-blonde base, but you’ll typically see a bigger impact when you opt for a contrast in tones. For example, applying lowlights is a great way of softening hair that’s turned too blonde, and highlights look ultra-glowy when swept through a deep brunette mane.
- They require contrasting colour formulas. While lowlights should be achieved by painting on a toner or gloss, highlights typically require a pre-lightener, like those in our award-winning Blondor portfolio. You can sometimes use a permanent color for highlights, as long as it’s a product that’s able to lighten. In that case, our pick is Koleston Perfect teamed with Welloxon Perfect hair developer, which can give you up to five levels of lift on natural hair that hasn’t been previously colored.
- Lowlights tend to be gentler than highlights. Because lowlights don’t require pre-lightener, they’re the kinder option for hair that’s prone to breakage and dryness. However, adding WellaPlex to any color service – highlights or lowlights – will lessen the damage and strengthen bonds within the hair. Problem solved.
Ways to Work Highlights and Lowlights
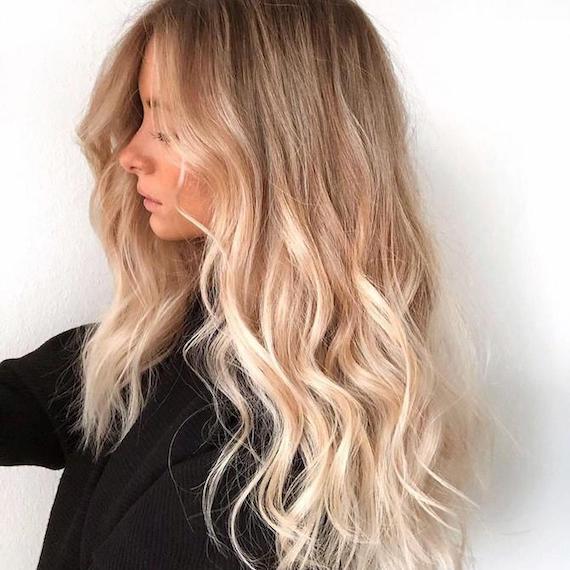
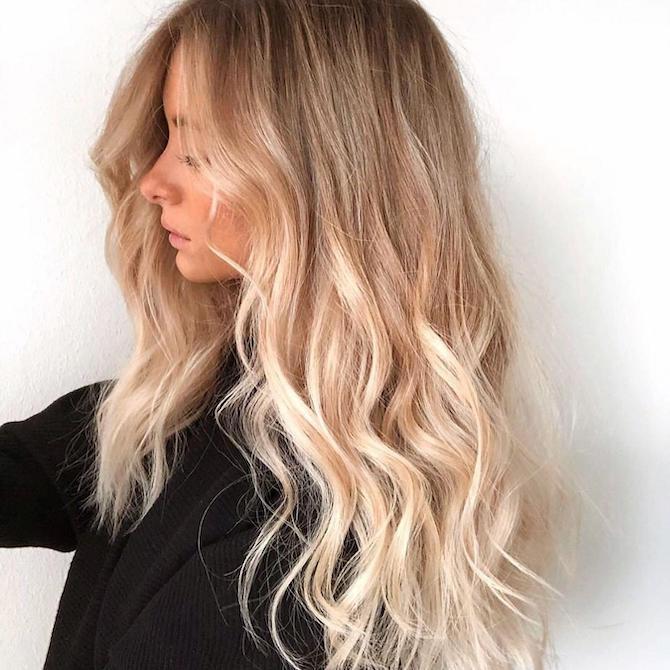
Highlights on Blonde Hair
Image Credit: @lafemmesalong via @wellanordic
This is highlights on blonde hair done right. A balayage technique was used to stroke Blondor 9% through mid-lengths, ends and face-framing highlights in the front layers, before the lighter areas were toned equal parts of Koleston Perfect ME+ 10g 10/86 + 10g 10/95 + 20ml Welloxon Perfect 1.9% Developer. The effect? Beachy brightness any surfer girl would be envious of.
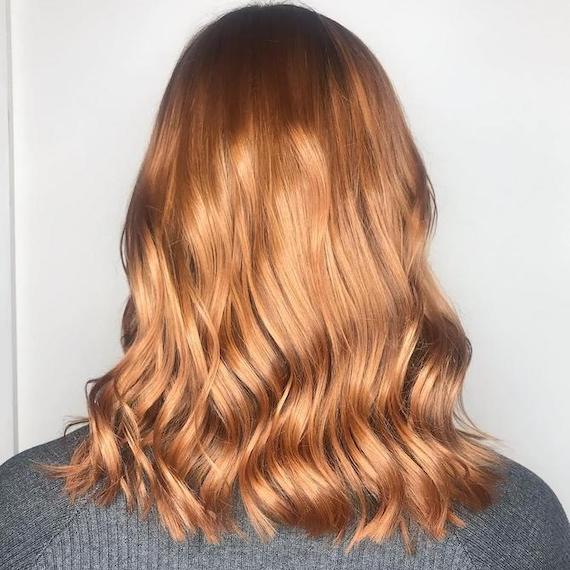
Highlights on Red Hair
Image Credit: @izziedavishair
Copper hair gets a strawberry blonde twisted in this highlighted masterpiece, perfected by Isobel Davis. Her formula? Color Touch 10g8/43 + 3g 0/43 + 26ml 4% Color Touch Emulsion, applied after subtle highlights to create a seamless blend. This is the finish you should be going for when applying highlights to red hair; subtle, soft and, above all, totally seamless.
Highlights on Brown Hair
Image Credit: @made_by_marina
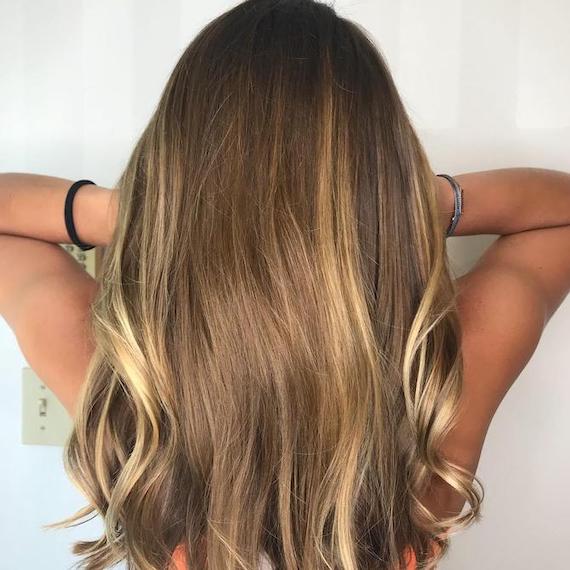
This is why we say highlights look more natural when you lift no more than three shades lighter than the base: because, when you stick within these levels, you get the most delicious caramel finish on brown hair. Marina Madain nailed it using Blondor 20 vol. to create the highlights, which were toned to perfection with Color Touch 25g 8/81 + 15g 9/16 + 80ml Color Touch 1.9% Emulsion.
Lowlights on Blonde Hair
Image Credit: @kellynaso
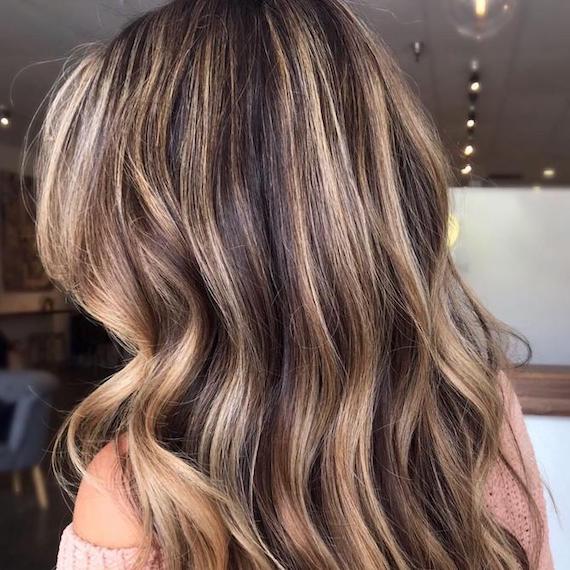
On hair that had been taken too blonde, Kelly Naso did a reverse balayage with deep brown lowlights, courtesy of demi-permanent Color Touch Plus 66/07 + 1.9% mixed on a 1:2 ratio with Color Touch Plus 4% Emulsion. This is a great technique when locks are over processed and lighter than the client would like, as the wider ribbons of brown break up the highlights beautifully.

