Are You Damaging Hair with Your Blow-Dry? What You Need to Know
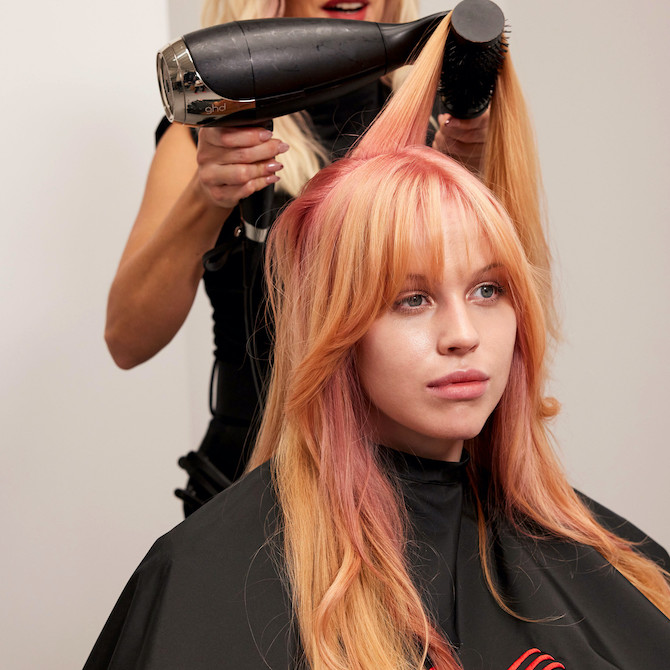
Your hair dryer is one of the most powerful tools in your styling kit. It's the answer to the bounciest volume, the smoothest lengths, and the most flawlessly defined curls. But, in a world where excess heat can spell damage for dry, delicate hair, does that extend to your blow-dry? Here's the surprising truth about blow-drying hair, plus how to damage-proof your technique...
So, Does Blow Drying Damage Your Hair?
The answer is yes and no. Whether your hair dryer is damaging or not comes down to how you use it. With the right tools, techniques and heat protection, you can enjoy that flawless blow-dry without impacting the condition of your hair. But if you don’t follow the right steps – all of which are laid out below – excess heat from your hair dryer could lead to heat damage over time.
What does that mean, exactly? If direct heat damage happens, the protective oils along the hair shaft can be stripped away, leaving strands dry, brittle and vulnerable to hair breakage. The same can happen with prolonged exposure to any hot tool, like your flat iron, which is why it's crucial to reach for a heat protectant if you want to style your way to healthy hair.
And, as you'll see below, protecting your hair from damage is easier than it sounds.
Which is Better for Your Hair: Air Drying or Blow Drying?
Air drying has been hailed as a suits-all solution for reducing the risk of heat damage, as it minimises the level of heat your strands are exposed to. So far, so good. But if your hair is damaged, letting hair air dry isn't always the healthier option. In fact, depending on your hair type and how quickly it dries, reaching for your blow dryer could reduce dryness and damage.
Let's get into the hair science. When your hair is wet, the hair fibers have to hold and carry the water molecules. A hair strand can hold around 30% of its weight in water. But in order to do so, the hair's cell membrane complex temporarily swells up, and then slowly shrinks back down again as each strand dries. This swelling and de-swelling process can put a lot of stress on the hair cuticle, causing breakage and split ends – especially if air drying tends to take a long while.
So, if air drying is a lengthy process for your hair, reach for your blow dryer and go-to heat protectant instead. This will reduce drying time and, in turn, the risk of damage caused by weighty water droplets. But, if your hair air dries quickly and seems to be softer and healthier as a result, let it dry naturally from time to time. Don't forget to apply a drop of hair oil first, to keep frizzy hair at bay. We love ULTIMATE SMOOTH Miracle Oil Serum.
How to Reduce Damage While Blow Drying
We've talked about the impact of the blow-drying process on your hair's condition. Now, let's look at the steps you can take to minimise hair damage in the face of daily heat exposure. No matter your hair type and texture, these steps are key to the silkiest blow-dry, allowing you to gain control over styling while keeping nourishment intact...
1. Gently Towel-Dry Hair with a Soft Microfiber Towel
You don't want to be blow-drying sopping wet hair. So, first up, remove excess water with a soft microfiber towel. This results in a faster drying time, meaning you won't have to expose hair strands to as much heat when you start styling. A microfiber towel is key as it's much gentler than regular cotton towels. Use it to gently blot – not rub – your wet hair dry. If you have curly hair, use a 'press and twist' motion to respect your natural curl pattern.
2. Detangle Hair with a Wide-Tooth Comb
You don't want to blow-dry knots into your hair, so before you switch on your hair dryer, use a wide-toothed comb to gently work through any stubborn knots. Don't drag the comb from root to tip; instead, start detangling through the ends of your hair first, then work your way up each strand of hair over time. Comb in small sections until every last knot has gone.
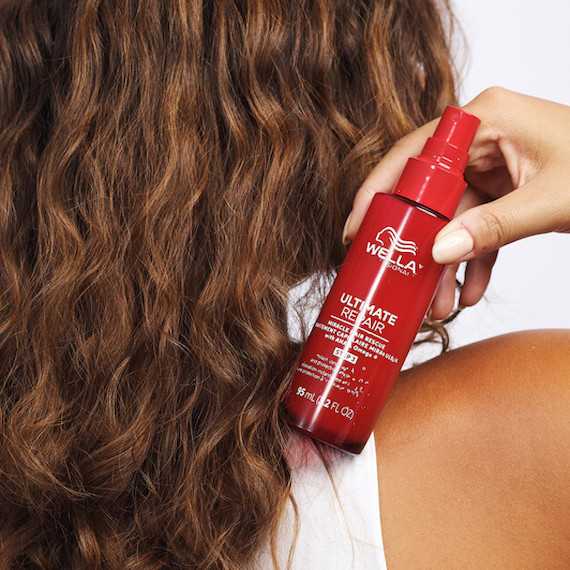
3. Add a Leave-In Treatment to Your Styling Routine
What if we told you that you could repair hair damage in 90 seconds¹? That kind of miracle is finally made possible with ULTIMATE REPAIR Miracle Hair Rescue. This breakthrough leave-in hair conditioner is fortified with a concentrated dose of AHA and Omega-9, which repairs the cortex layer of each hair strand as well as the outer layer. All you have to do is mist it through clean, damp hair from root to tip, let it absorb for the full 90 seconds, and then style as usual.

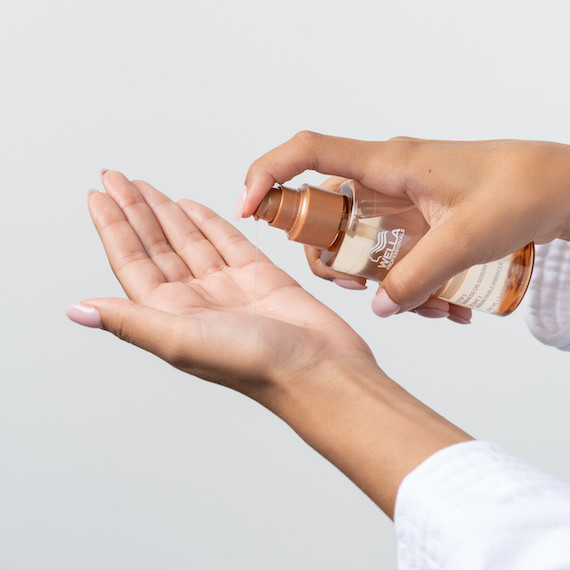
4. Apply a Heat Protectant – with Benefits
Why settle for a heat protection spray that does nothing more than shield your hair? You need a multitasker – and that's where ULTIMATE SMOOTH Miracle Oil Serum comes in. This triple-act hair serum-meets-oil safeguards hair from heat damage with its built-in shield, while its luxurious blend of Omega-9 and Squalane gives brittle strands a smoother finish. Goodbye, frizz! For healthy strands, prep hair for a blow-dry by layering the oil over ULTIMATE REPAIR Miracle Hair Rescue. The oil gives you nourishment in 30 seconds and smoothness that lasts up to 3 days². Use it after Miracle Hair Rescue has absorbed for the full 90 seconds, and smooth through the mid-lengths and ends of your hair to achieve a mirror-like glow.
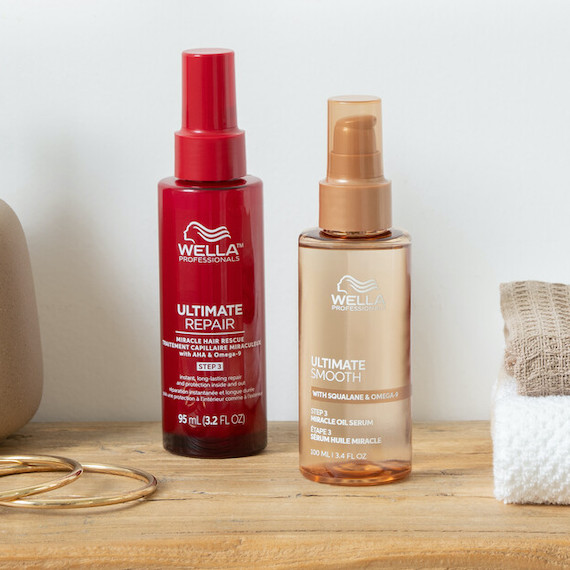
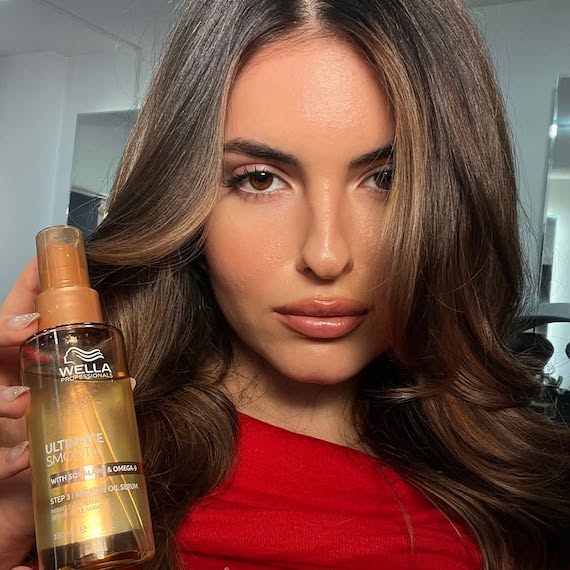
Image Credit: @marianiliehair
5. Use an Ionic Hair Dryer
An ionic hair dryer is a game-changer. When your wet hair comes into contact with a traditional blow dryer, it's charged with positive ions that give it an electrical charge – cue staticky frizz. But an ionic hair dryer releases negative ions that rebalance your hair, making it easier and more manageable to style. Plus, an ionic hair dryer emits heat that penetrates the hair shaft, drying it from the inside out to speed up your whole hair regimen.
6. Turn Down the Heat Setting on Your Hair Dryer
You might be using a drying temperature that's too high for your hair thickness. So, when you switch on your ionic hair dryer, consider turning it down to reduce heat exposure.
If you have fine to medium hair: Always use a low or moderate heat setting. A low heat setting also gives you greater control over styling – ideal if you struggle with fluffy, frizzy hair.
If you have a medium to coarse hair type: Try a medium heat setting and see if it gives you the results you want. Aim to only use the hottest setting when it's really needed, such as when you're in a rush.
Check the speed setting on your hair dryer too. A medium speed is suitable for most hair types, but if you have fine or damaged hair, the lowest speed setting will give you a gentler blow-dry.
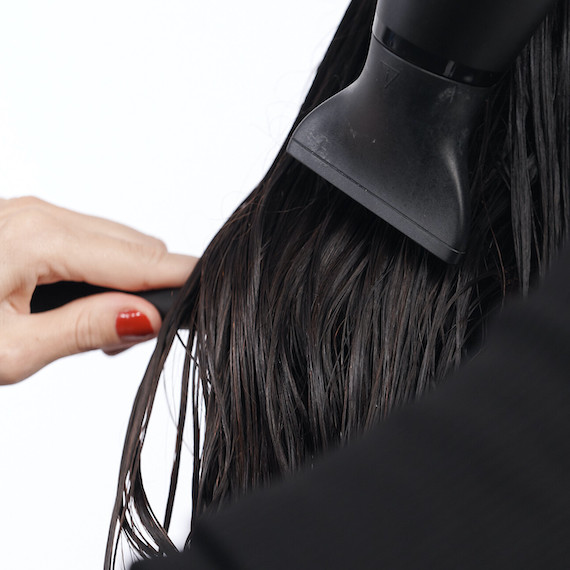
7. Rough Dry Your Hair to Remove Excess Water
Before grabbing your paddle or round brush and styling hair to perfection, lightly rough dry hair to get rid of the excess water. You don't want to blow your mane around too much, as this can throw off your hair texture, but you do want to reduce hair surface damage by minimising the time spent pulling hair taut and concentrating the flow of heat. So, follow this step until your hair is around 80% dry, and then you'll be ready to use your styling brush.
8. Dry Straight Hair Types with a Pointed Nozzle
If you have straight hair, tick off your silky-smooth hair goals by finishing your blow-dry with the pointed nozzle. This directs the flow of heat exactly where you want it, so you can achieve a salon-worthy blowout. Pull sections of hair taut with a round or paddle brush, and point the nozzle down the hair shaft as you dry. This encourages the cuticle to lie flat, leaving you with frizz-free, shiny hair.
9. Dry Curly Hair Types with a Diffuser Attachment
Wavy, curly and coily hair types should reach for the diffuser. This bowl-shaped attachment is your best friend if enhancing your curl pattern and reducing frizzy-looking hair is your ultimate goal. Unlike the nozzle, it disperses airflow over a wider area, so delicate curls and coils aren't blown around, but are gently, carefully dried instead. Plus, the cup and prongs allow you to lift curls and coils for added movement. Simply separate hair into sections, gather the lengths up in the cup, lift to the root, and keep the blow dryer in constant motion as the section dries. Finish with NutriCurls Curlixir Balm for even more definition.
10. Finish with a Blast of the Cool Setting
Once your hair is completely dry, lower the airflow setting, switch on the cool setting, and very gently go back over your style to lock in shine. The cool shot can help to close up the hair cuticle, in turn reducing damage to hair at the end of your blow-dry. Plus, it helps your glossy style last longer.
And just like that, your damage-defying blow-dry is done!
Looking for more ways to level up your hair care routine? Then check out Wella's virtual consultation tool. Like having your hairstylist on 24/7 speed dial, it builds your bespoke hair care regimen in minutes.
¹ When using ULTIMATE REPAIR Miracle Hair Rescue.
² When using ULTIMATE SMOOTH Miracle Oil Serum, if unwashed for 3 days, vs. untreated.